
 015.Android14 Native 图形化调试上手
之前的教程 (opens new window)中我们讲过使用 clion + gdbserver 的方式远程调试 Native 代码,不过在最新的 Androi14 的源码中已经找不到 gdbserver 可执行文件了,这个方法已经不能使用了。
接下来我们介绍通过 vscode + lldb 工具调试 Native 程序的方法,该方法适用于 Android12 及以后的版本。
# 1. 调试进程
1 接下来我们以 SurfaceFlinger 为例,来看看如何调试运行中的进程。
# 1.1 准备工作
首先我们需要一份源码并编译出一个 eng 版本,这里我使用的是 android-14.0.0_r15 版本,编译 aosp_oriole-eng 版本,该版本对应于 pixel6 手机,其它版本都类似。
source build/envsetup.sh
lunch aosp_oriole-eng
m
2
3
接着把镜像刷入手机:
adb reboot bootloader
fastboot flashall -w
2
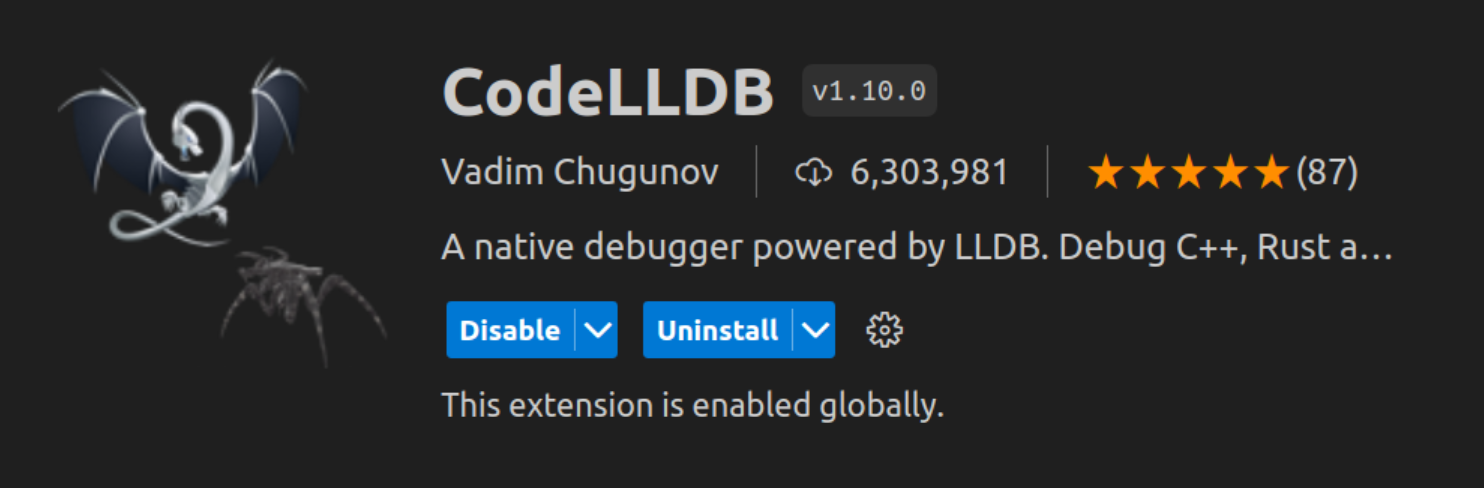
接着我们需要再 VSCode 中安装好 CodeLLDB 插件
# 1.2 调试过程
新开一个终端进入系统源码根目录(重要),执行 source lunch
source build/envsetup.sh
lunch aosp_oriole-eng
2
找到要调试的进程(surfaceflinger)的 pid
adb shell ps -elf | grep surfaceflinger

system         578     1 1 11:21:55 ?     00:00:22 surfaceflinger
2
3
开启 lldb 服务端
lldbclient.py -p 578 --setup-forwarding vscode-lldb
该命令会打印一段 json,记录下来(你的可能和我不一样):
{
    "name": "(lldbclient.py) Attach surfaceflinger (port: 5039)",
    "type": "lldb",
    "request": "custom",
    "relativePathBase": "/home/zzh0838/Project/aosp/android-14.0.0_r15",
    "sourceMap": {
        "/b/f/w": "/home/zzh0838/Project/aosp/android-14.0.0_r15",
        "": "/home/zzh0838/Project/aosp/android-14.0.0_r15",
        ".": "/home/zzh0838/Project/aosp/android-14.0.0_r15"
    },
    "initCommands": [
        "settings append target.exec-search-paths /home/zzh0838/Project/aosp/android-14.0.0_r15/out/target/product/oriole/symbols/system/lib64/ /home/zzh0838/Project/aosp/android-14.0.0_r15/out/target/product/oriole/symbols/system/lib64/hw /home/zzh0838/Project/aosp/android-14.0.0_r15/out/target/product/oriole/symbols/system/lib64/ssl/engines /home/zzh0838/Project/aosp/android-14.0.0_r15/out/target/product/oriole/symbols/system/lib64/drm /home/zzh0838/Project/aosp/android-14.0.0_r15/out/target/product/oriole/symbols/system/lib64/egl /home/zzh0838/Project/aosp/android-14.0.0_r15/out/target/product/oriole/symbols/system/lib64/soundfx /home/zzh0838/Project/aosp/android-14.0.0_r15/out/target/product/oriole/symbols/vendor/lib64/ /home/zzh0838/Project/aosp/android-14.0.0_r15/out/target/product/oriole/symbols/vendor/lib64/hw /home/zzh0838/Project/aosp/android-14.0.0_r15/out/target/product/oriole/symbols/vendor/lib64/egl /home/zzh0838/Project/aosp/android-14.0.0_r15/out/target/product/oriole/symbols/apex/com.android.runtime/bin"
    ],
    "targetCreateCommands": [
        "target create /home/zzh0838/Project/aosp/android-14.0.0_r15/out/target/product/oriole/symbols/system/bin/surfaceflinger",
        "target modules search-paths add / /home/zzh0838/Project/aosp/android-14.0.0_r15/out/target/product/oriole/symbols/"
    ],
    "processCreateCommands": [
        "gdb-remote 5039"
    ]
}
2
3
4
5
6
7
8
9
10
11
12
13
14
15
16
17
18
19
20
21
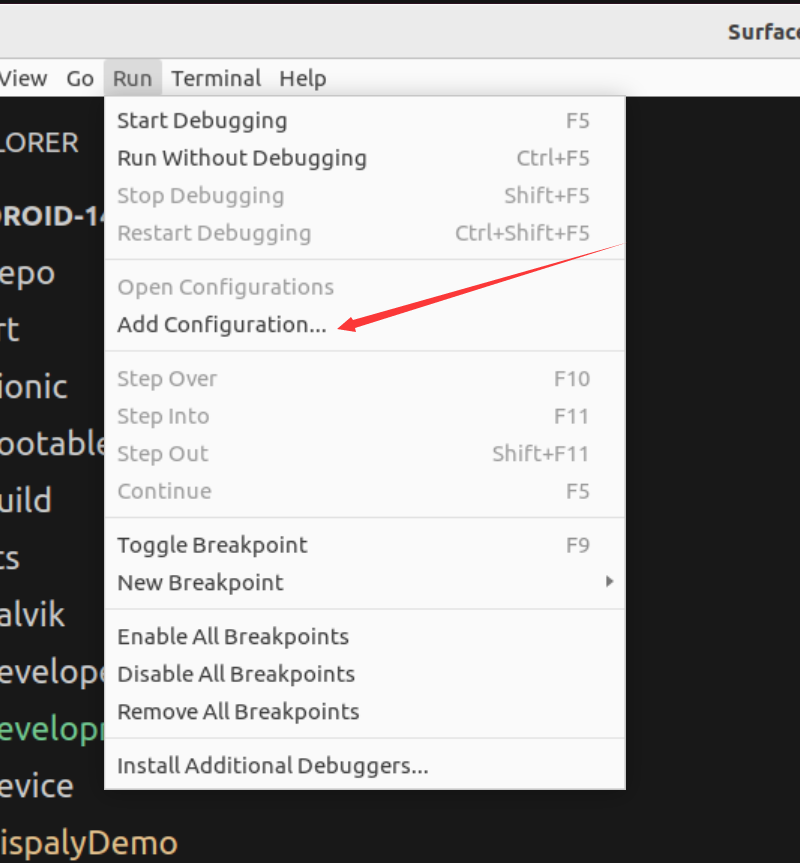
接下来使用 VSCode 打开 Android 源码的根目录。
接着点击菜单栏的 run -> Add Configuration:
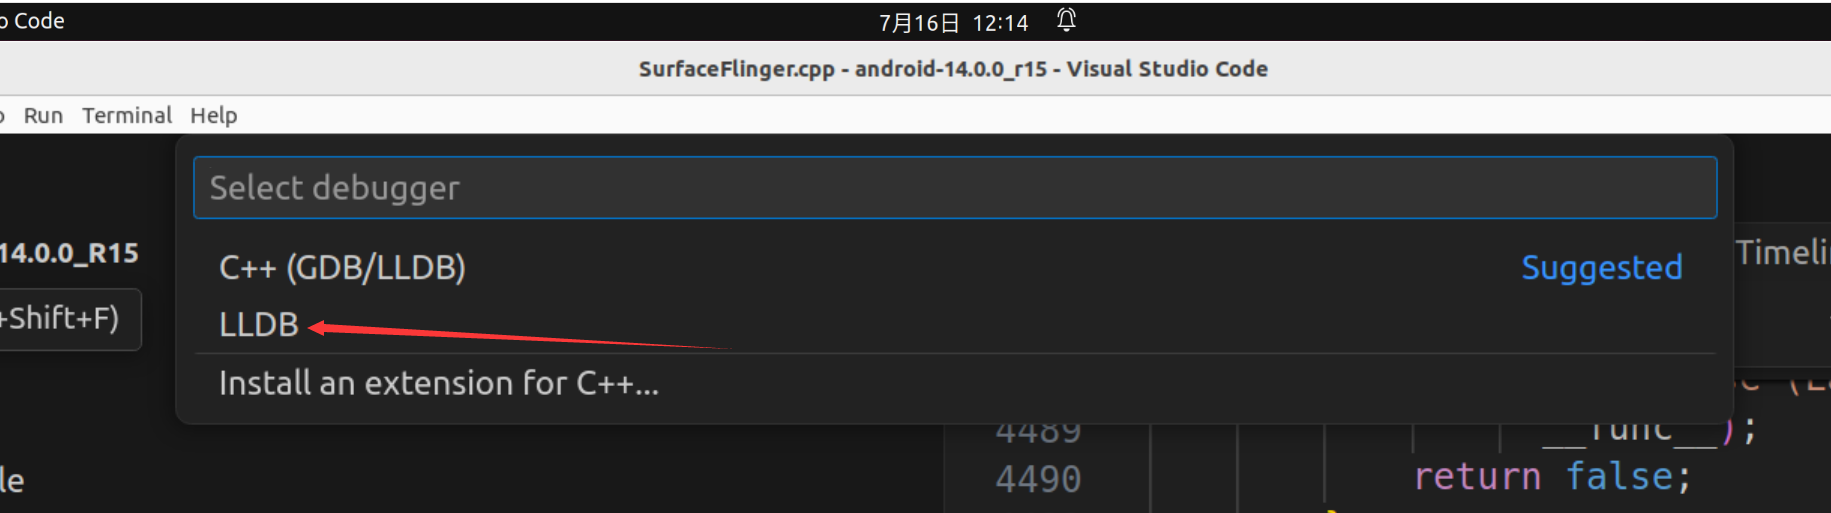
选择 LLDB:
接着就会在根目录下生成一个 .vscode 文件夹,其中有一个 launch.json 文件。
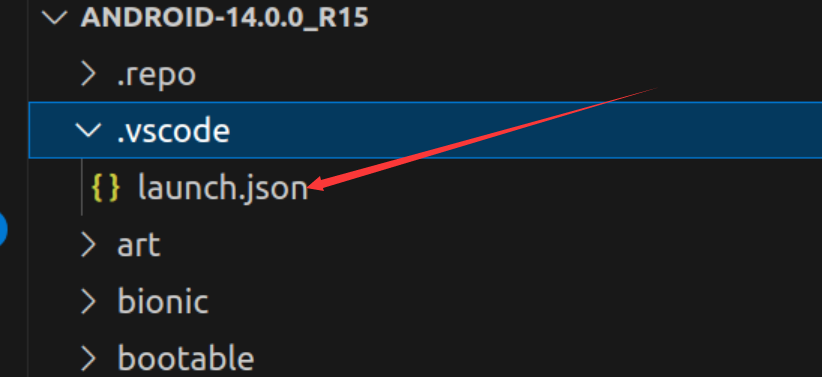
接着把 launch.json 文件中 configurations 节点的内容都删掉,换成上面记录的 json:
{
    // Use IntelliSense to learn about possible attributes.
    // Hover to view descriptions of existing attributes.
    // For more information, visit: https://go.microsoft.com/fwlink/?linkid=830387
    "version": "0.2.0",
    "configurations": [
        {
            "name": "(lldbclient.py) Attach surfaceflinger (port: 5039)",
            "type": "lldb",
            "request": "custom",
            "relativePathBase": "/home/zzh0838/Project/aosp/android-14.0.0_r15",
            "sourceMap": {
                "/b/f/w": "/home/zzh0838/Project/aosp/android-14.0.0_r15",
                "": "/home/zzh0838/Project/aosp/android-14.0.0_r15",
                ".": "/home/zzh0838/Project/aosp/android-14.0.0_r15"
            },
            "initCommands": [
                "settings append target.exec-search-paths /home/zzh0838/Project/aosp/android-14.0.0_r15/out/target/product/oriole/symbols/system/lib64/ /home/zzh0838/Project/aosp/android-14.0.0_r15/out/target/product/oriole/symbols/system/lib64/hw /home/zzh0838/Project/aosp/android-14.0.0_r15/out/target/product/oriole/symbols/system/lib64/ssl/engines /home/zzh0838/Project/aosp/android-14.0.0_r15/out/target/product/oriole/symbols/system/lib64/drm /home/zzh0838/Project/aosp/android-14.0.0_r15/out/target/product/oriole/symbols/system/lib64/egl /home/zzh0838/Project/aosp/android-14.0.0_r15/out/target/product/oriole/symbols/system/lib64/soundfx /home/zzh0838/Project/aosp/android-14.0.0_r15/out/target/product/oriole/symbols/vendor/lib64/ /home/zzh0838/Project/aosp/android-14.0.0_r15/out/target/product/oriole/symbols/vendor/lib64/hw /home/zzh0838/Project/aosp/android-14.0.0_r15/out/target/product/oriole/symbols/vendor/lib64/egl /home/zzh0838/Project/aosp/android-14.0.0_r15/out/target/product/oriole/symbols/apex/com.android.runtime/bin"
            ],
            "targetCreateCommands": [
                "target create /home/zzh0838/Project/aosp/android-14.0.0_r15/out/target/product/oriole/symbols/system/bin/surfaceflinger",
                "target modules search-paths add / /home/zzh0838/Project/aosp/android-14.0.0_r15/out/target/product/oriole/symbols/"
            ],
            "processCreateCommands": [
                "gdb-remote 5039"
            ]
        }
    ]
}
2
3
4
5
6
7
8
9
10
11
12
13
14
15
16
17
18
19
20
21
22
23
24
25
26
27
28
29
接着在 frameworks/native/services/surfaceflinger/SurfaceFlinger.cpp 文件中打好断点:
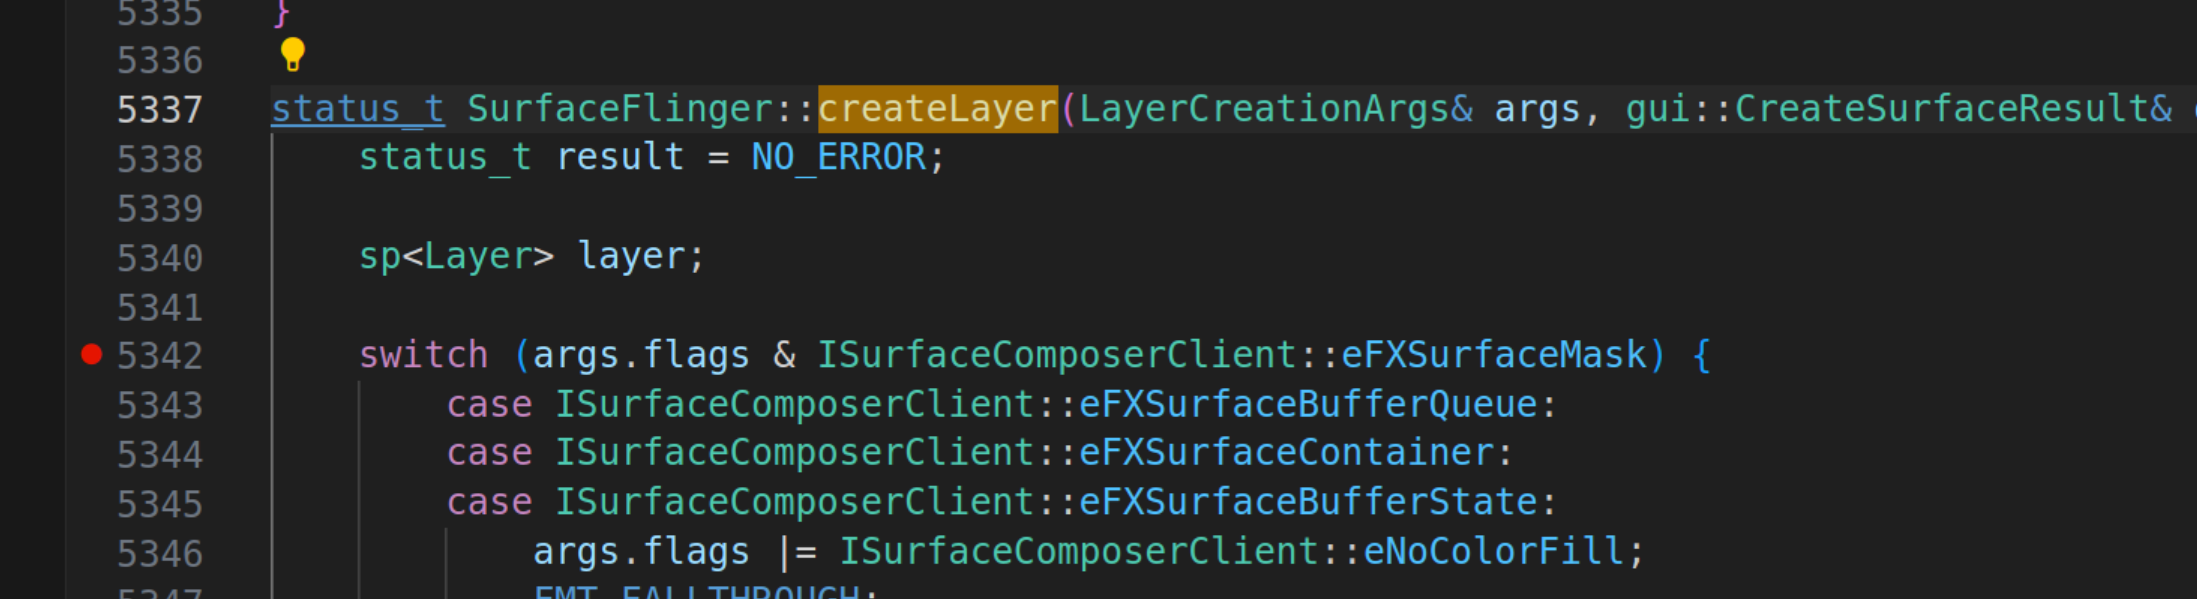
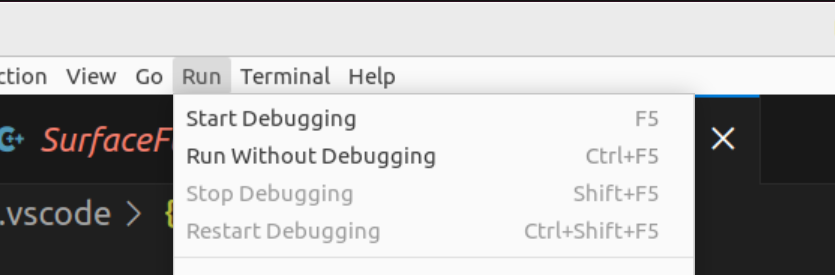
然后菜单栏 run -> Start Debugging 开始调试:
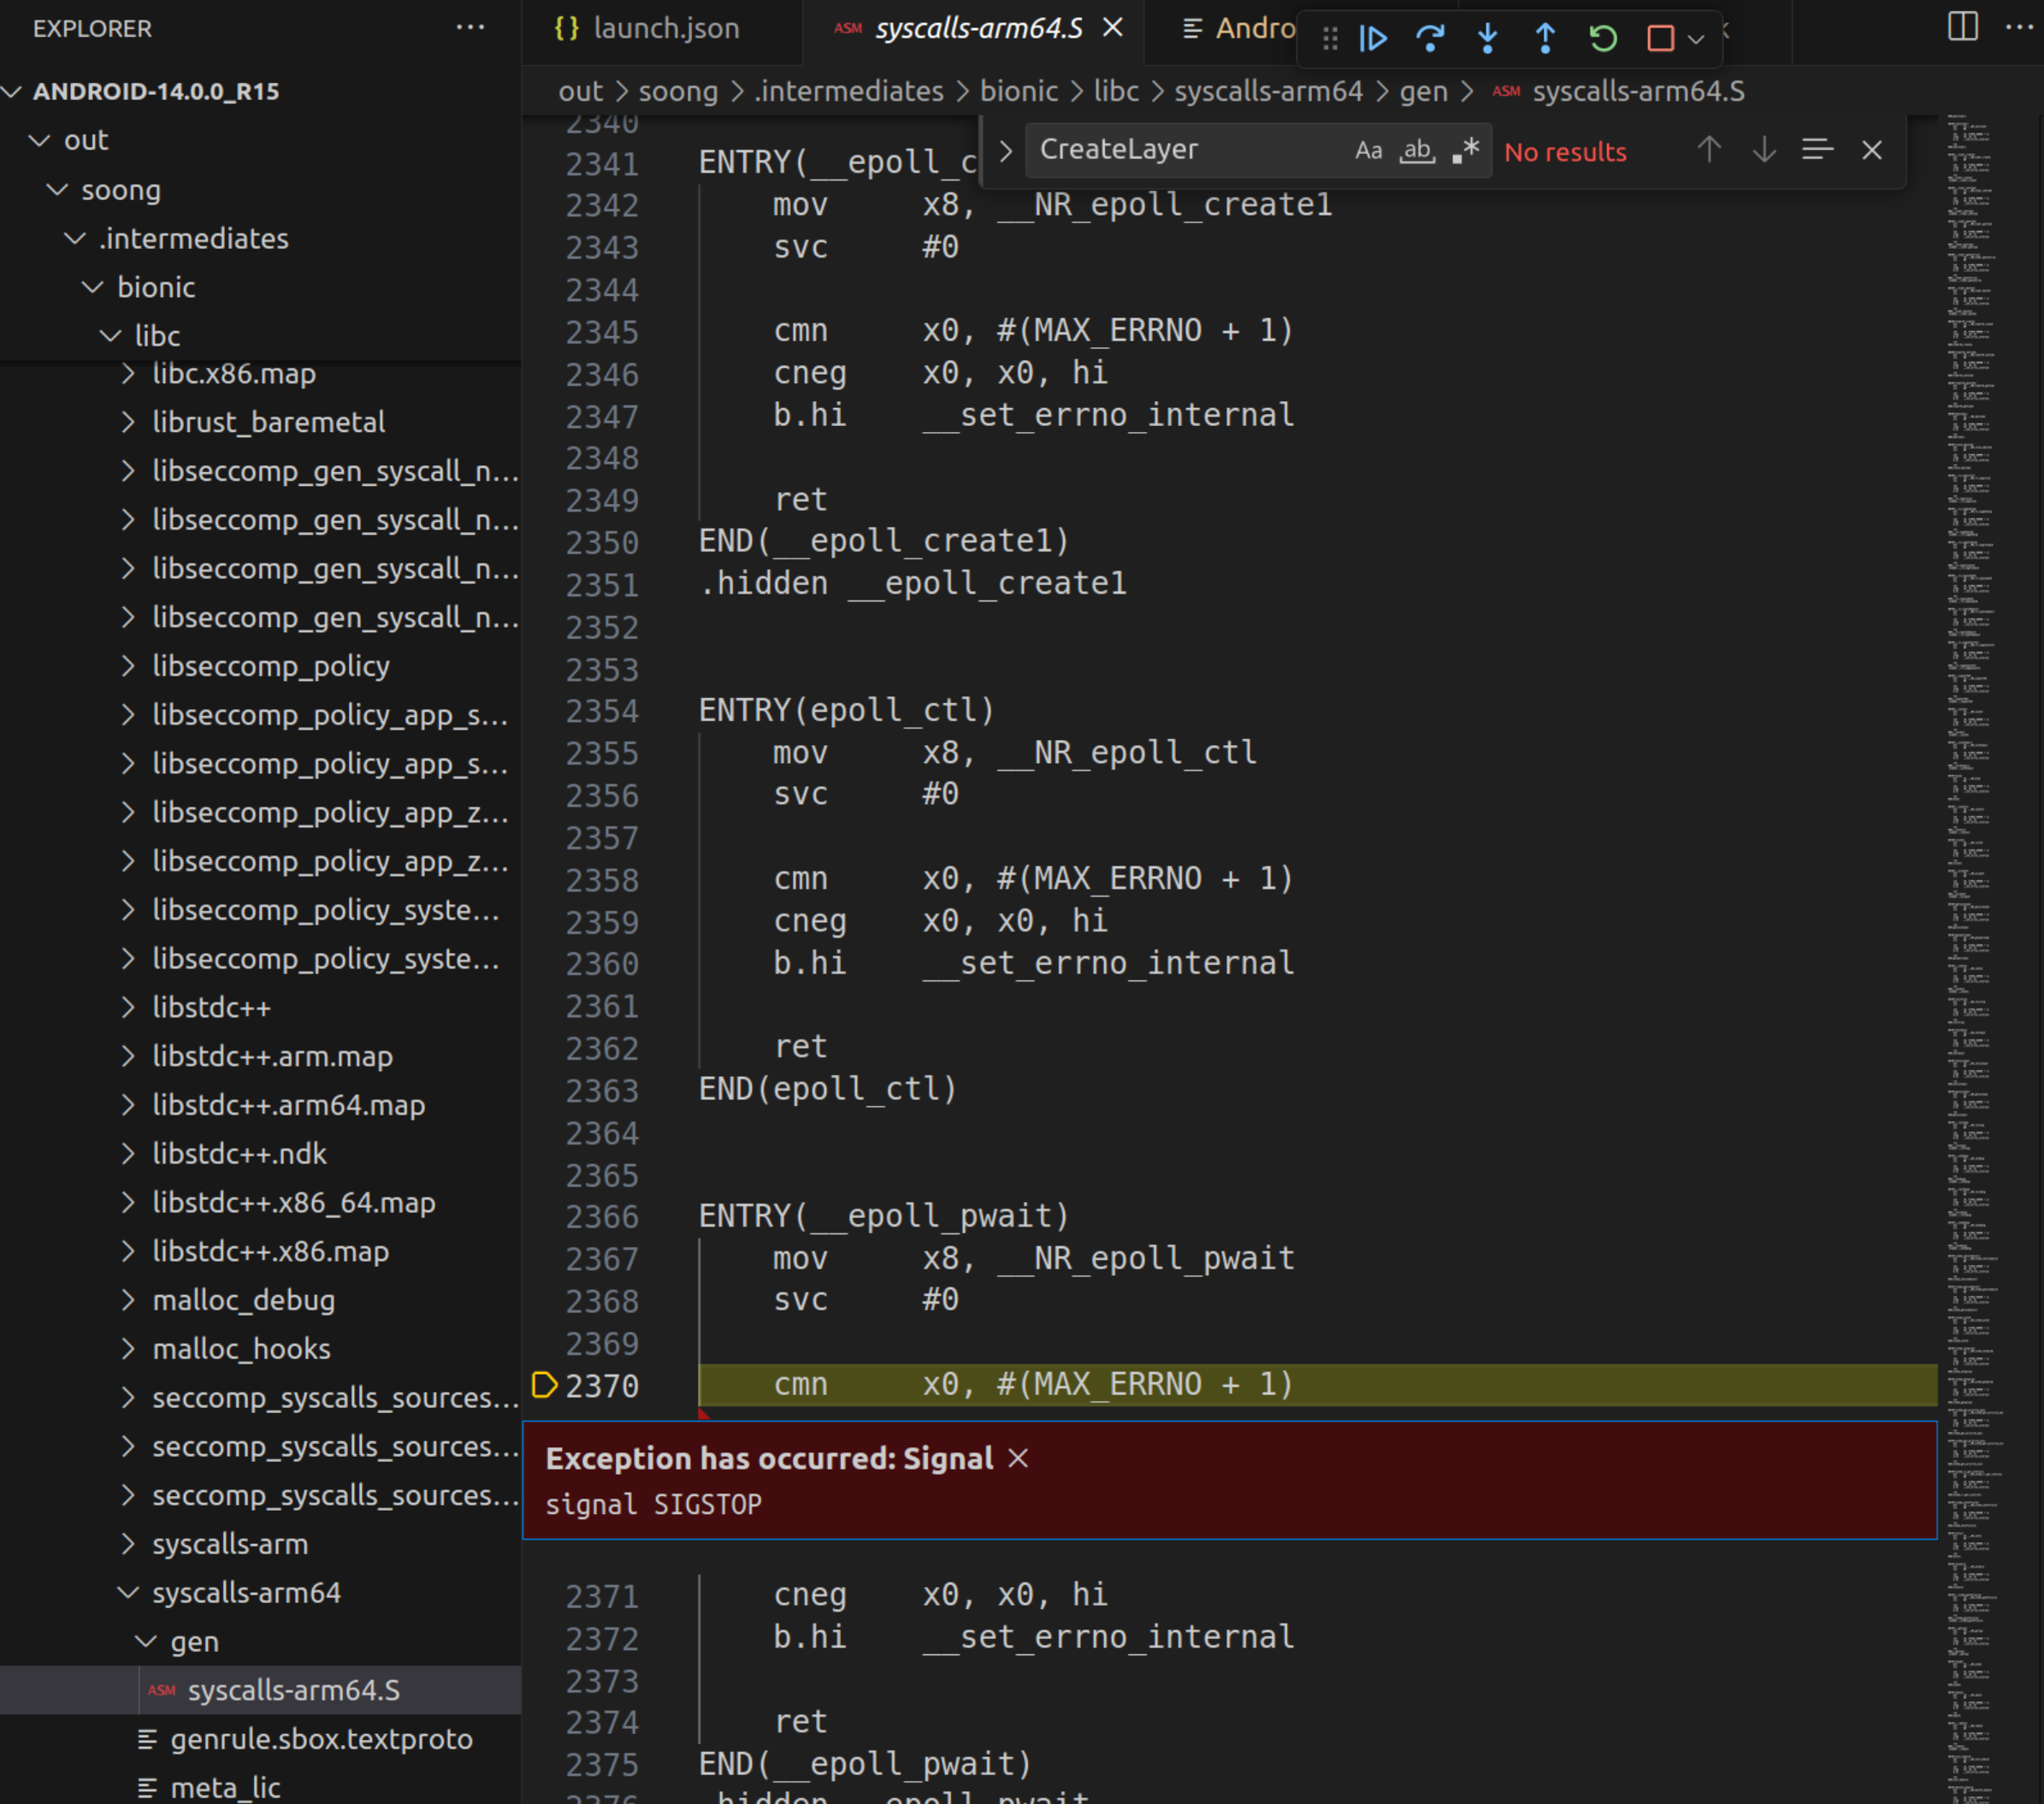
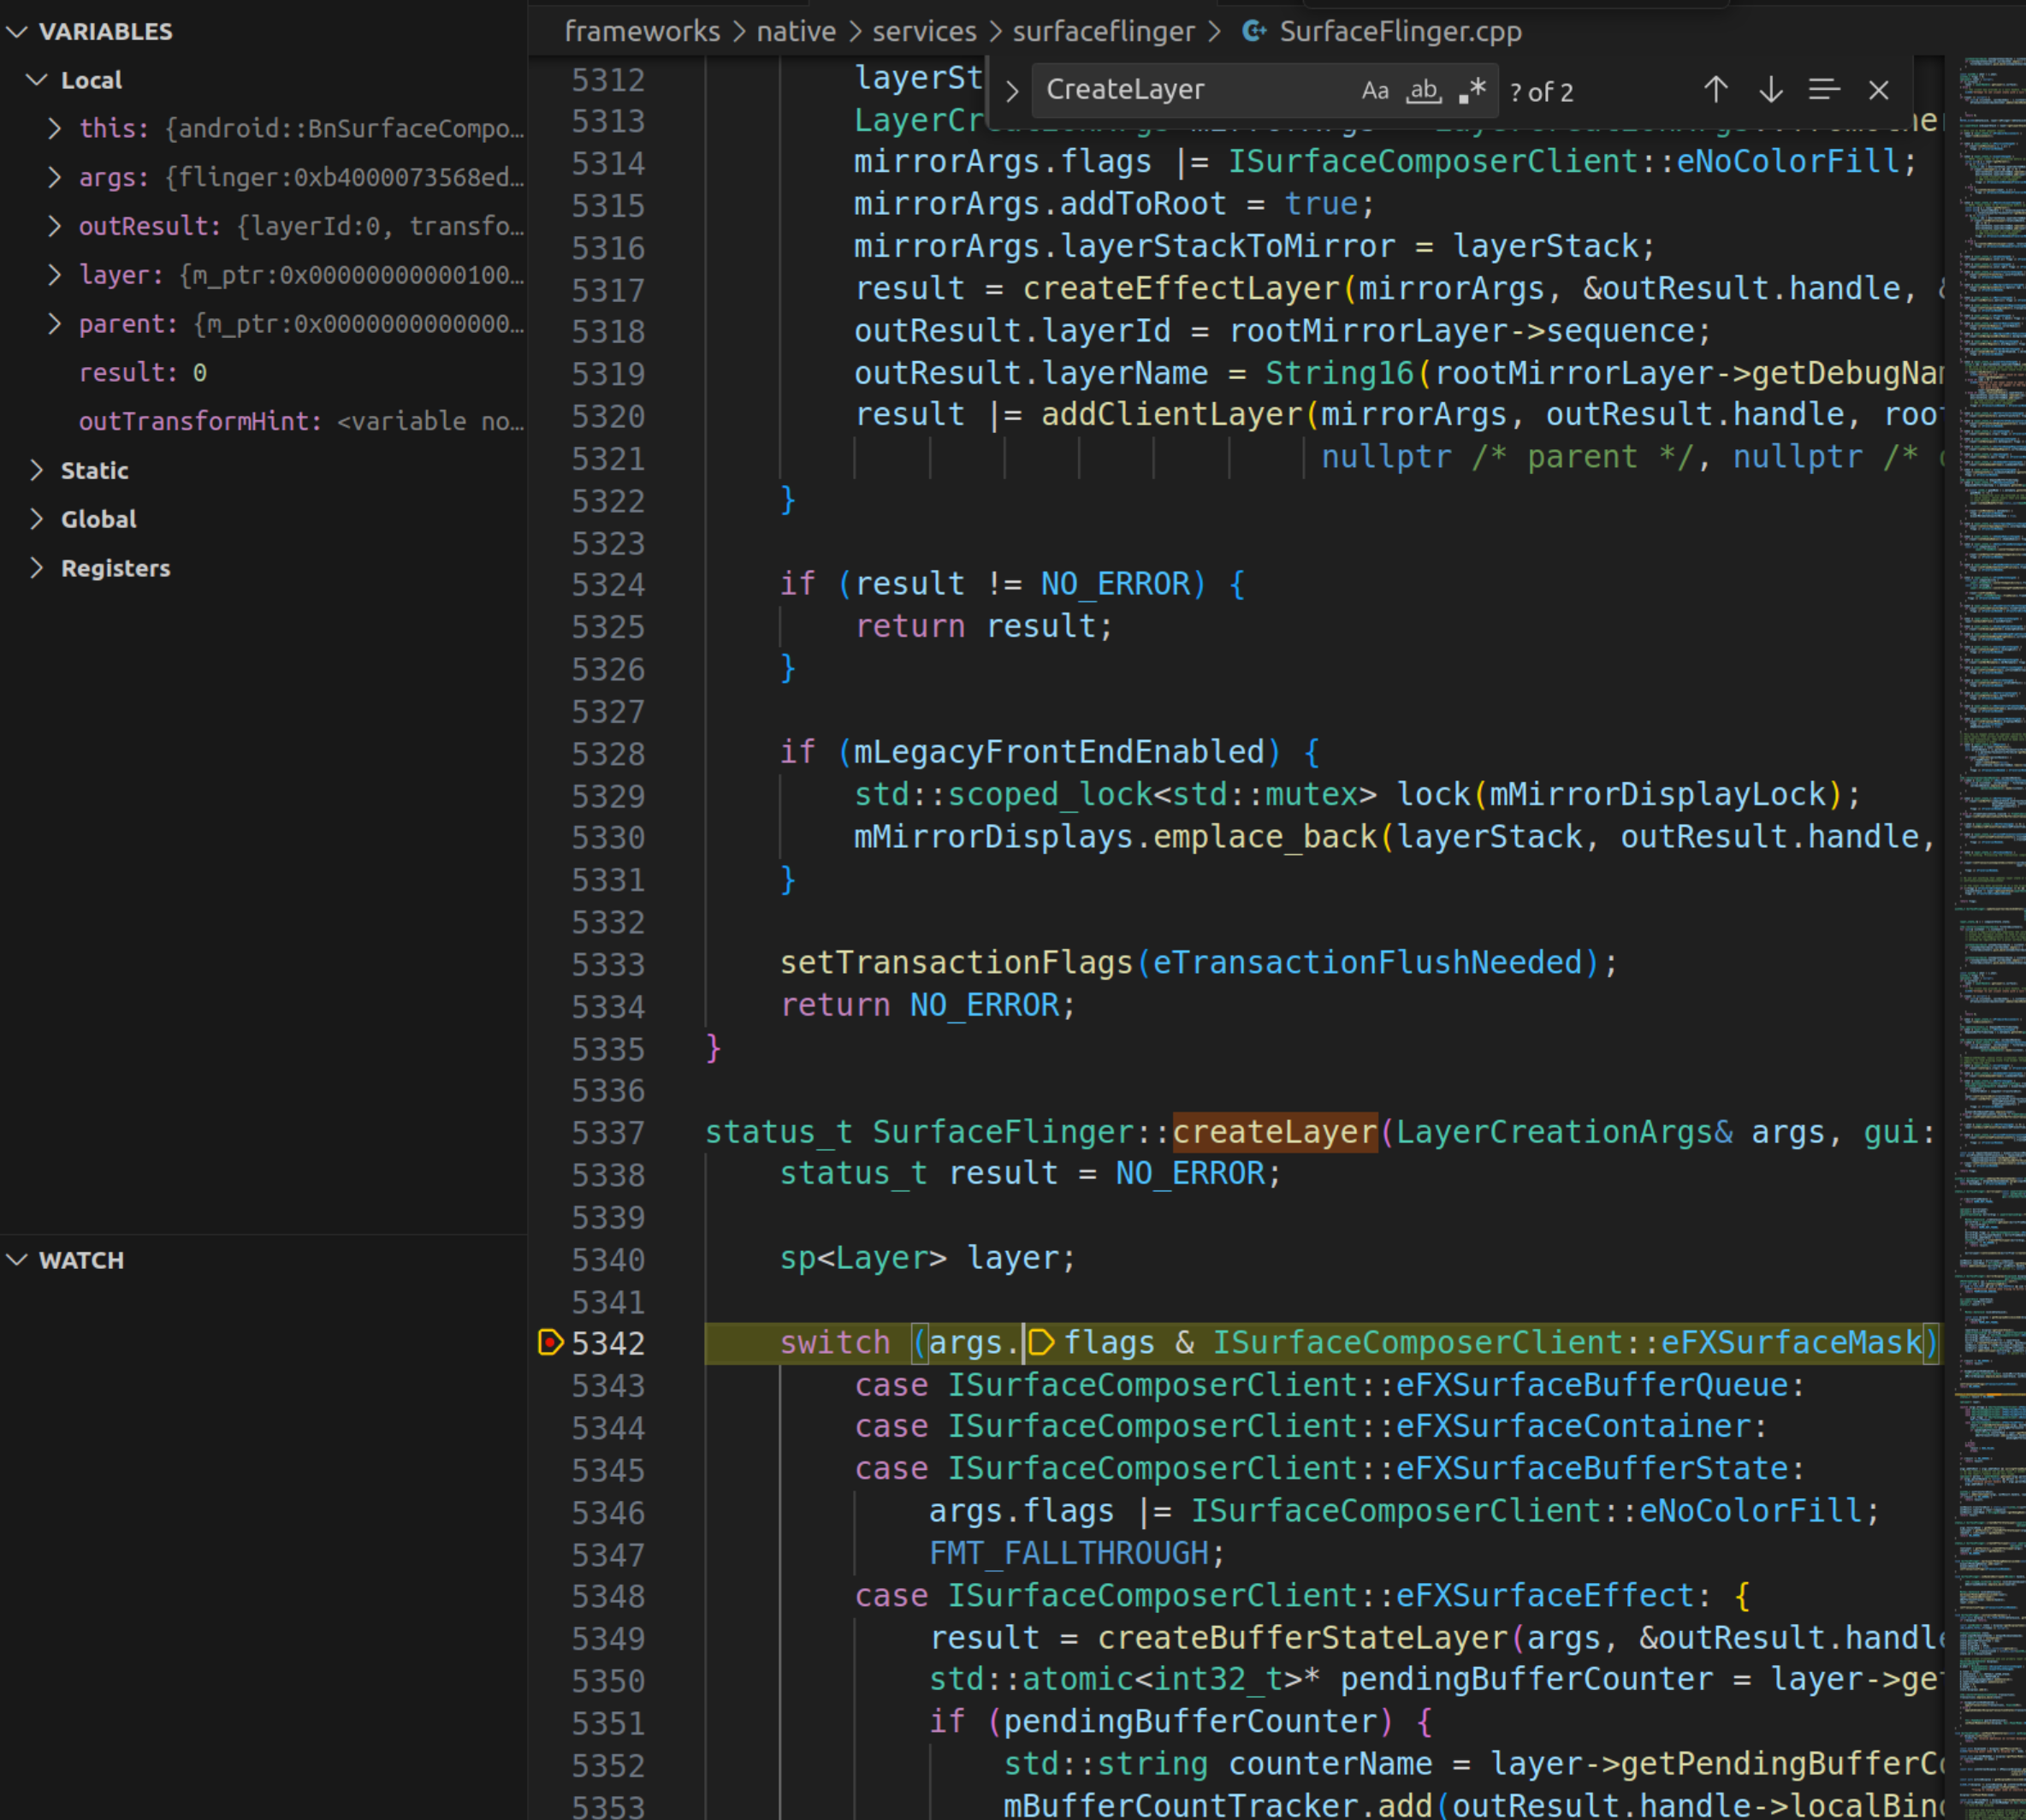
f5 run,然后启动一个 app,就会来到我们的断点处:
调试系统进程稳定性不太好,这里可能会弹窗显示连接失败,重启手机,多试几次
# 2. 调试可执行文件
# 2.1 准备工作
首先我们需要一份源码并编译出一个 eng 版本,这里我使用的是 android-14.0.0_r15 版本,编译 aosp_oriole-eng 版本,该版本对应于 pixel6 手机,其它版本都类似。
source build/envsetup.sh
lunch aosp_oriole-eng
m
2
3
接着把镜像刷入手机:
adb reboot bootloader
fastboot flashall -w
2
接着我们准备一个待调试的程序,这里使用 与 SurfaceFlinger 直接交互的示例程序 (opens new window) 中提供的示例程序。
main.cpp:
#define LOG_TAG "DisplayDemo"

#include <binder/IPCThreadState.h>
#include <binder/ProcessState.h>
#include <binder/IServiceManager.h>
#include <hardware/gralloc.h>
#include <ui/GraphicBuffer.h>
#include <utils/Log.h>
#include <gui/BLASTBufferQueue.h>
#include <gui/IGraphicBufferProducer.h>
#include <gui/Surface.h>
#include <gui/SurfaceControl.h>
#include <system/window.h>
#include <utils/RefBase.h>
#include <android-base/properties.h>
#include <android/gui/ISurfaceComposerClient.h>
#include <gui/Surface.h>
#include <gui/SurfaceComposerClient.h>
#include <ui/DisplayState.h>


using namespace android;

bool mQuit = false;

/*
 Android 系统支持多种显示设备,比如说,输出到手机屏幕,或者通过 WiFi 投射到电视屏幕。Android 用 DisplayDevice 类来表示这样的设备。不是所有的 Layer 都会输出到所有的Display, 比如说,我们可以只将Video Layer投射到电视, 而非整个屏幕。LayerStack 就是为此设计,LayerStack 是一个Display 对象的一个数值, 而类Layer里成员State结构体也有成员变量 mLayerStack, 只有两者的  mLayerStack 值相同,Layer才会被输出到给该 Display 设备。所以 LayerStack 决定了每个Display设备上可以显示的Layer数目。
 */
int mLayerStack = 0;

void fillRGBA8Buffer(uint8_t* img, int width, int height, int stride, int r, int g, int b) {
    for (int y = 0; y < height; y++) {
        for (int x = 0; x < width; x++) {
            uint8_t* pixel = img + (4 * (y*stride + x));
            pixel[0] = r;
            pixel[1] = g;
            pixel[2] = b;
            pixel[3] = 0;
        }
    }
}


int main(int argc, char ** argv) {

    // 建立 App 到 SurfaceFlinger 的 Binder 通信通道
    sp<SurfaceComposerClient> surfaceComposerClient = new SurfaceComposerClient;
    status_t err = surfaceComposerClient->initCheck();
    if (err != OK) {
        ALOGD("SurfaceComposerClient::initCheck error: %#x\n", err);
        return -1;
    }


    // 获取到显示设备的 ID
    // 返回的是一个 vector,因为存在多屏或者投屏等情况
    const std::vector<PhysicalDisplayId> ids = SurfaceComposerClient::getPhysicalDisplayIds();
    if (ids.empty()) {
        ALOGE("Failed to get ID for any displays\n");
        return -1;
    }

    //displayToken 是屏幕的索引
    sp<IBinder> displayToken = nullptr;

    // 示例仅考虑只有一个屏幕的情况
    displayToken = SurfaceComposerClient::getPhysicalDisplayToken(ids.front());

    // 获取屏幕相关参数
    ui::DisplayMode displayMode;
    err = SurfaceComposerClient::getActiveDisplayMode(displayToken, &displayMode);
    if (err != OK)
        return -1;


    ui::Size resolution = displayMode.resolution;
    //resolution = limitSurfaceSize(resolution.width, resolution.height);

    // 创建 SurfaceControl 对象
    // 会远程调用到 SurfaceFlinger 进程中,Surfaceflinger 中会创建一个 Layer 对象
    String8 name("displaydemo");
    sp<SurfaceControl> surfaceControl = surfaceComposerClient->createSurface(name, resolution.getWidth(),
                                                                             resolution.getHeight(), PIXEL_FORMAT_RGBA_8888,
                                                                             ISurfaceComposerClient::eFXSurfaceBufferState,
                                                                             /*parent*/ nullptr);


    // 构建事务对象并提交
    SurfaceComposerClient::Transaction{}
            .setLayer(surfaceControl, std::numeric_limits<int32_t>::max())
            .show(surfaceControl)
            .setBackgroundColor(surfaceControl, half3{0, 0, 0}, 1.0f, ui::Dataspace::UNKNOWN) // black background
            .setAlpha(surfaceControl, 1.0f)
            .setLayerStack(surfaceControl, ui::LayerStack::fromValue(mLayerStack))
            .apply();


    // 初始化一个 BLASTBufferQueue 对象,传入了前面获取到的 surfaceControl
    // BLASTBufferQueue 是帧缓存的大管家
    sp<BLASTBufferQueue> mBlastBufferQueue = new BLASTBufferQueue("DemoBLASTBufferQueue", surfaceControl ,
                                             resolution.getWidth(), resolution.getHeight(),
                                             PIXEL_FORMAT_RGBA_8888);

    // 获取到 GraphicBuffer 的生产者并完成初始化。
    sp<IGraphicBufferProducer> igbProducer;
    igbProducer = mBlastBufferQueue->getIGraphicBufferProducer();
    igbProducer->setMaxDequeuedBufferCount(2);
    IGraphicBufferProducer::QueueBufferOutput qbOutput;
    igbProducer->connect(new StubProducerListener, NATIVE_WINDOW_API_CPU, false, &qbOutput);

    while(!mQuit) {
        int slot;
        sp<Fence> fence;
        sp<GraphicBuffer> buf;

        // 向 gralloc HAL 发起 binder 远程调用,分配内存
        // 核心是 GraphicBuffer 的初始化,以及 GraphicBuffer 的跨进程传输
        // 1. dequeue buffer
        igbProducer->dequeueBuffer(&slot, &fence, resolution.getWidth(), resolution.getHeight(),
                                              PIXEL_FORMAT_RGBA_8888, GRALLOC_USAGE_SW_WRITE_OFTEN,
                                              nullptr, nullptr);
        igbProducer->requestBuffer(slot, &buf);

        int waitResult = fence->waitForever("dequeueBuffer_EmptyNative");
        if (waitResult != OK) {
            ALOGE("dequeueBuffer_EmptyNative: Fence::wait returned an error: %d", waitResult);
            break;
        }

        // 2. fill the buffer with color
        uint8_t* img = nullptr;
        err = buf->lock(GRALLOC_USAGE_SW_WRITE_OFTEN, (void**)(&img));
        if (err != NO_ERROR) {
            ALOGE("error: lock failed: %s (%d)", strerror(-err), -err);
            break;
        }
        int countFrame = 0;
        countFrame = (countFrame+1)%3;

        fillRGBA8Buffer(img, resolution.getWidth(), resolution.getHeight(), buf->getStride(),
                        countFrame == 0 ? 255 : 0,
                        countFrame == 1 ? 255 : 0,
                        countFrame == 2 ? 255 : 0);

        err = buf->unlock();
        if (err != NO_ERROR) {
            ALOGE("error: unlock failed: %s (%d)", strerror(-err), -err);
            break;
        }

        // 3. queue the buffer to display
        IGraphicBufferProducer::QueueBufferOutput qbOutput;
        IGraphicBufferProducer::QueueBufferInput input(systemTime(), true /* autotimestamp */,
                                                       HAL_DATASPACE_UNKNOWN, {},
                                                       NATIVE_WINDOW_SCALING_MODE_FREEZE, 0,
                                                       Fence::NO_FENCE);
        igbProducer->queueBuffer(slot, input, &qbOutput);

        sleep(1);
    }
    return 0;
}
2
3
4
5
6
7
8
9
10
11
12
13
14
15
16
17
18
19
20
21
22
23
24
25
26
27
28
29
30
31
32
33
34
35
36
37
38
39
40
41
42
43
44
45
46
47
48
49
50
51
52
53
54
55
56
57
58
59
60
61
62
63
64
65
66
67
68
69
70
71
72
73
74
75
76
77
78
79
80
81
82
83
84
85
86
87
88
89
90
91
92
93
94
95
96
97
98
99
100
101
102
103
104
105
106
107
108
109
110
111
112
113
114
115
116
117
118
119
120
121
122
123
124
125
126
127
128
129
130
131
132
133
134
135
136
137
138
139
140
141
142
143
144
145
146
147
148
149
150
151
152
153
154
155
156
157
158
159
160
161
162
对应的 Android.bp:
cc_defaults {
    name: "demo_defaults",

    cflags: [
        "-Wall",
        "-Werror",
        "-Wunused",
        "-Wunreachable-code",
    ],

    shared_libs: [
        "libbase",
        "libbinder",
        "libcutils",
        "liblog",
        "libutils",
        "libui",
        "libgui",
        "libEGL",
        "libGLESv1_CM",
    ],
}

cc_binary {
    name: "DisplayDemo",
    defaults: ["demo_defaults"],
    srcs: [
        "main.cpp",
    ],

    cflags: [
        "-Wno-deprecated-declarations",
        "-Wno-unused-parameter"
    ],
}
2
3
4
5
6
7
8
9
10
11
12
13
14
15
16
17
18
19
20
21
22
23
24
25
26
27
28
29
30
31
32
33
34
35
把程序放到源码根目录下:
接着单编这个模块:
cd DisplayDemo
mm
2
然后把编译生成的可执行文件 push 到手机上:
# 重新挂载分区,System 分区才能写
adb root
adb remount

adb push ./out/target/product/oriole/system/bin/DisplayDemo /system/bin
2
3
4
5
# 2.2 调试过程
先开启 lldb 服务端:
lldbclient.py --port 5038 --setup-forwarding vscode-lldb -r /system/bin/DisplayDemo
该命令会打印出一段 json:
{
    "name": "(lldbclient.py) Attach DisplayDemo (port: 5038)",
    "type": "lldb",
    "request": "custom",
    "relativePathBase": "/home/zzh0838/Project/aosp/android-14.0.0_r15",
    "sourceMap": {
        "/b/f/w": "/home/zzh0838/Project/aosp/android-14.0.0_r15",
        "": "/home/zzh0838/Project/aosp/android-14.0.0_r15",
        ".": "/home/zzh0838/Project/aosp/android-14.0.0_r15"
    },
    "initCommands": [
        "settings append target.exec-search-paths /home/zzh0838/Project/aosp/android-14.0.0_r15/out/target/product/oriole/symbols/system/lib64/ /home/zzh0838/Project/aosp/android-14.0.0_r15/out/target/product/oriole/symbols/system/lib64/hw /home/zzh0838/Project/aosp/android-14.0.0_r15/out/target/product/oriole/symbols/system/lib64/ssl/engines /home/zzh0838/Project/aosp/android-14.0.0_r15/out/target/product/oriole/symbols/system/lib64/drm /home/zzh0838/Project/aosp/android-14.0.0_r15/out/target/product/oriole/symbols/system/lib64/egl /home/zzh0838/Project/aosp/android-14.0.0_r15/out/target/product/oriole/symbols/system/lib64/soundfx /home/zzh0838/Project/aosp/android-14.0.0_r15/out/target/product/oriole/symbols/vendor/lib64/ /home/zzh0838/Project/aosp/android-14.0.0_r15/out/target/product/oriole/symbols/vendor/lib64/hw /home/zzh0838/Project/aosp/android-14.0.0_r15/out/target/product/oriole/symbols/vendor/lib64/egl /home/zzh0838/Project/aosp/android-14.0.0_r15/out/target/product/oriole/symbols/apex/com.android.runtime/bin"
    ],
    "targetCreateCommands": [
        "target create /home/zzh0838/Project/aosp/android-14.0.0_r15/out/target/product/oriole/symbols/system/bin/DisplayDemo",
        "target modules search-paths add / /home/zzh0838/Project/aosp/android-14.0.0_r15/out/target/product/oriole/symbols/"
    ],
    "processCreateCommands": [
        "gdb-remote 5038"
    ]
}
2
3
4
5
6
7
8
9
10
11
12
13
14
15
16
17
18
19
20
21
22
接着把 .vscode/launch.json 文件中 configurations 节点的内容都删掉,换成上面记录的 json:
{
    // Use IntelliSense to learn about possible attributes.
    // Hover to view descriptions of existing attributes.
    // For more information, visit: https://go.microsoft.com/fwlink/?linkid=830387
    "version": "0.2.0",
    "configurations": [
        {
            "name": "(lldbclient.py) Attach DisplayDemo (port: 5038)",
            "type": "lldb",
            "request": "custom",
            "relativePathBase": "/home/zzh0838/Project/aosp/android-14.0.0_r15",
            "sourceMap": {
                "/b/f/w": "/home/zzh0838/Project/aosp/android-14.0.0_r15",
                "": "/home/zzh0838/Project/aosp/android-14.0.0_r15",
                ".": "/home/zzh0838/Project/aosp/android-14.0.0_r15"
            },
            "initCommands": [
                "settings append target.exec-search-paths /home/zzh0838/Project/aosp/android-14.0.0_r15/out/target/product/oriole/symbols/system/lib64/ /home/zzh0838/Project/aosp/android-14.0.0_r15/out/target/product/oriole/symbols/system/lib64/hw /home/zzh0838/Project/aosp/android-14.0.0_r15/out/target/product/oriole/symbols/system/lib64/ssl/engines /home/zzh0838/Project/aosp/android-14.0.0_r15/out/target/product/oriole/symbols/system/lib64/drm /home/zzh0838/Project/aosp/android-14.0.0_r15/out/target/product/oriole/symbols/system/lib64/egl /home/zzh0838/Project/aosp/android-14.0.0_r15/out/target/product/oriole/symbols/system/lib64/soundfx /home/zzh0838/Project/aosp/android-14.0.0_r15/out/target/product/oriole/symbols/vendor/lib64/ /home/zzh0838/Project/aosp/android-14.0.0_r15/out/target/product/oriole/symbols/vendor/lib64/hw /home/zzh0838/Project/aosp/android-14.0.0_r15/out/target/product/oriole/symbols/vendor/lib64/egl /home/zzh0838/Project/aosp/android-14.0.0_r15/out/target/product/oriole/symbols/apex/com.android.runtime/bin"
            ],
            "targetCreateCommands": [
                "target create /home/zzh0838/Project/aosp/android-14.0.0_r15/out/target/product/oriole/symbols/system/bin/DisplayDemo",
                "target modules search-paths add / /home/zzh0838/Project/aosp/android-14.0.0_r15/out/target/product/oriole/symbols/"
            ],
            "processCreateCommands": [
                "gdb-remote 5038"
            ]
        }

    ]
}
2
3
4
5
6
7
8
9
10
11
12
13
14
15
16
17
18
19
20
21
22
23
24
25
26
27
28
29
30
接着在 VSCode 中点击 f5 即可开始调试了:

点击 f5,run:
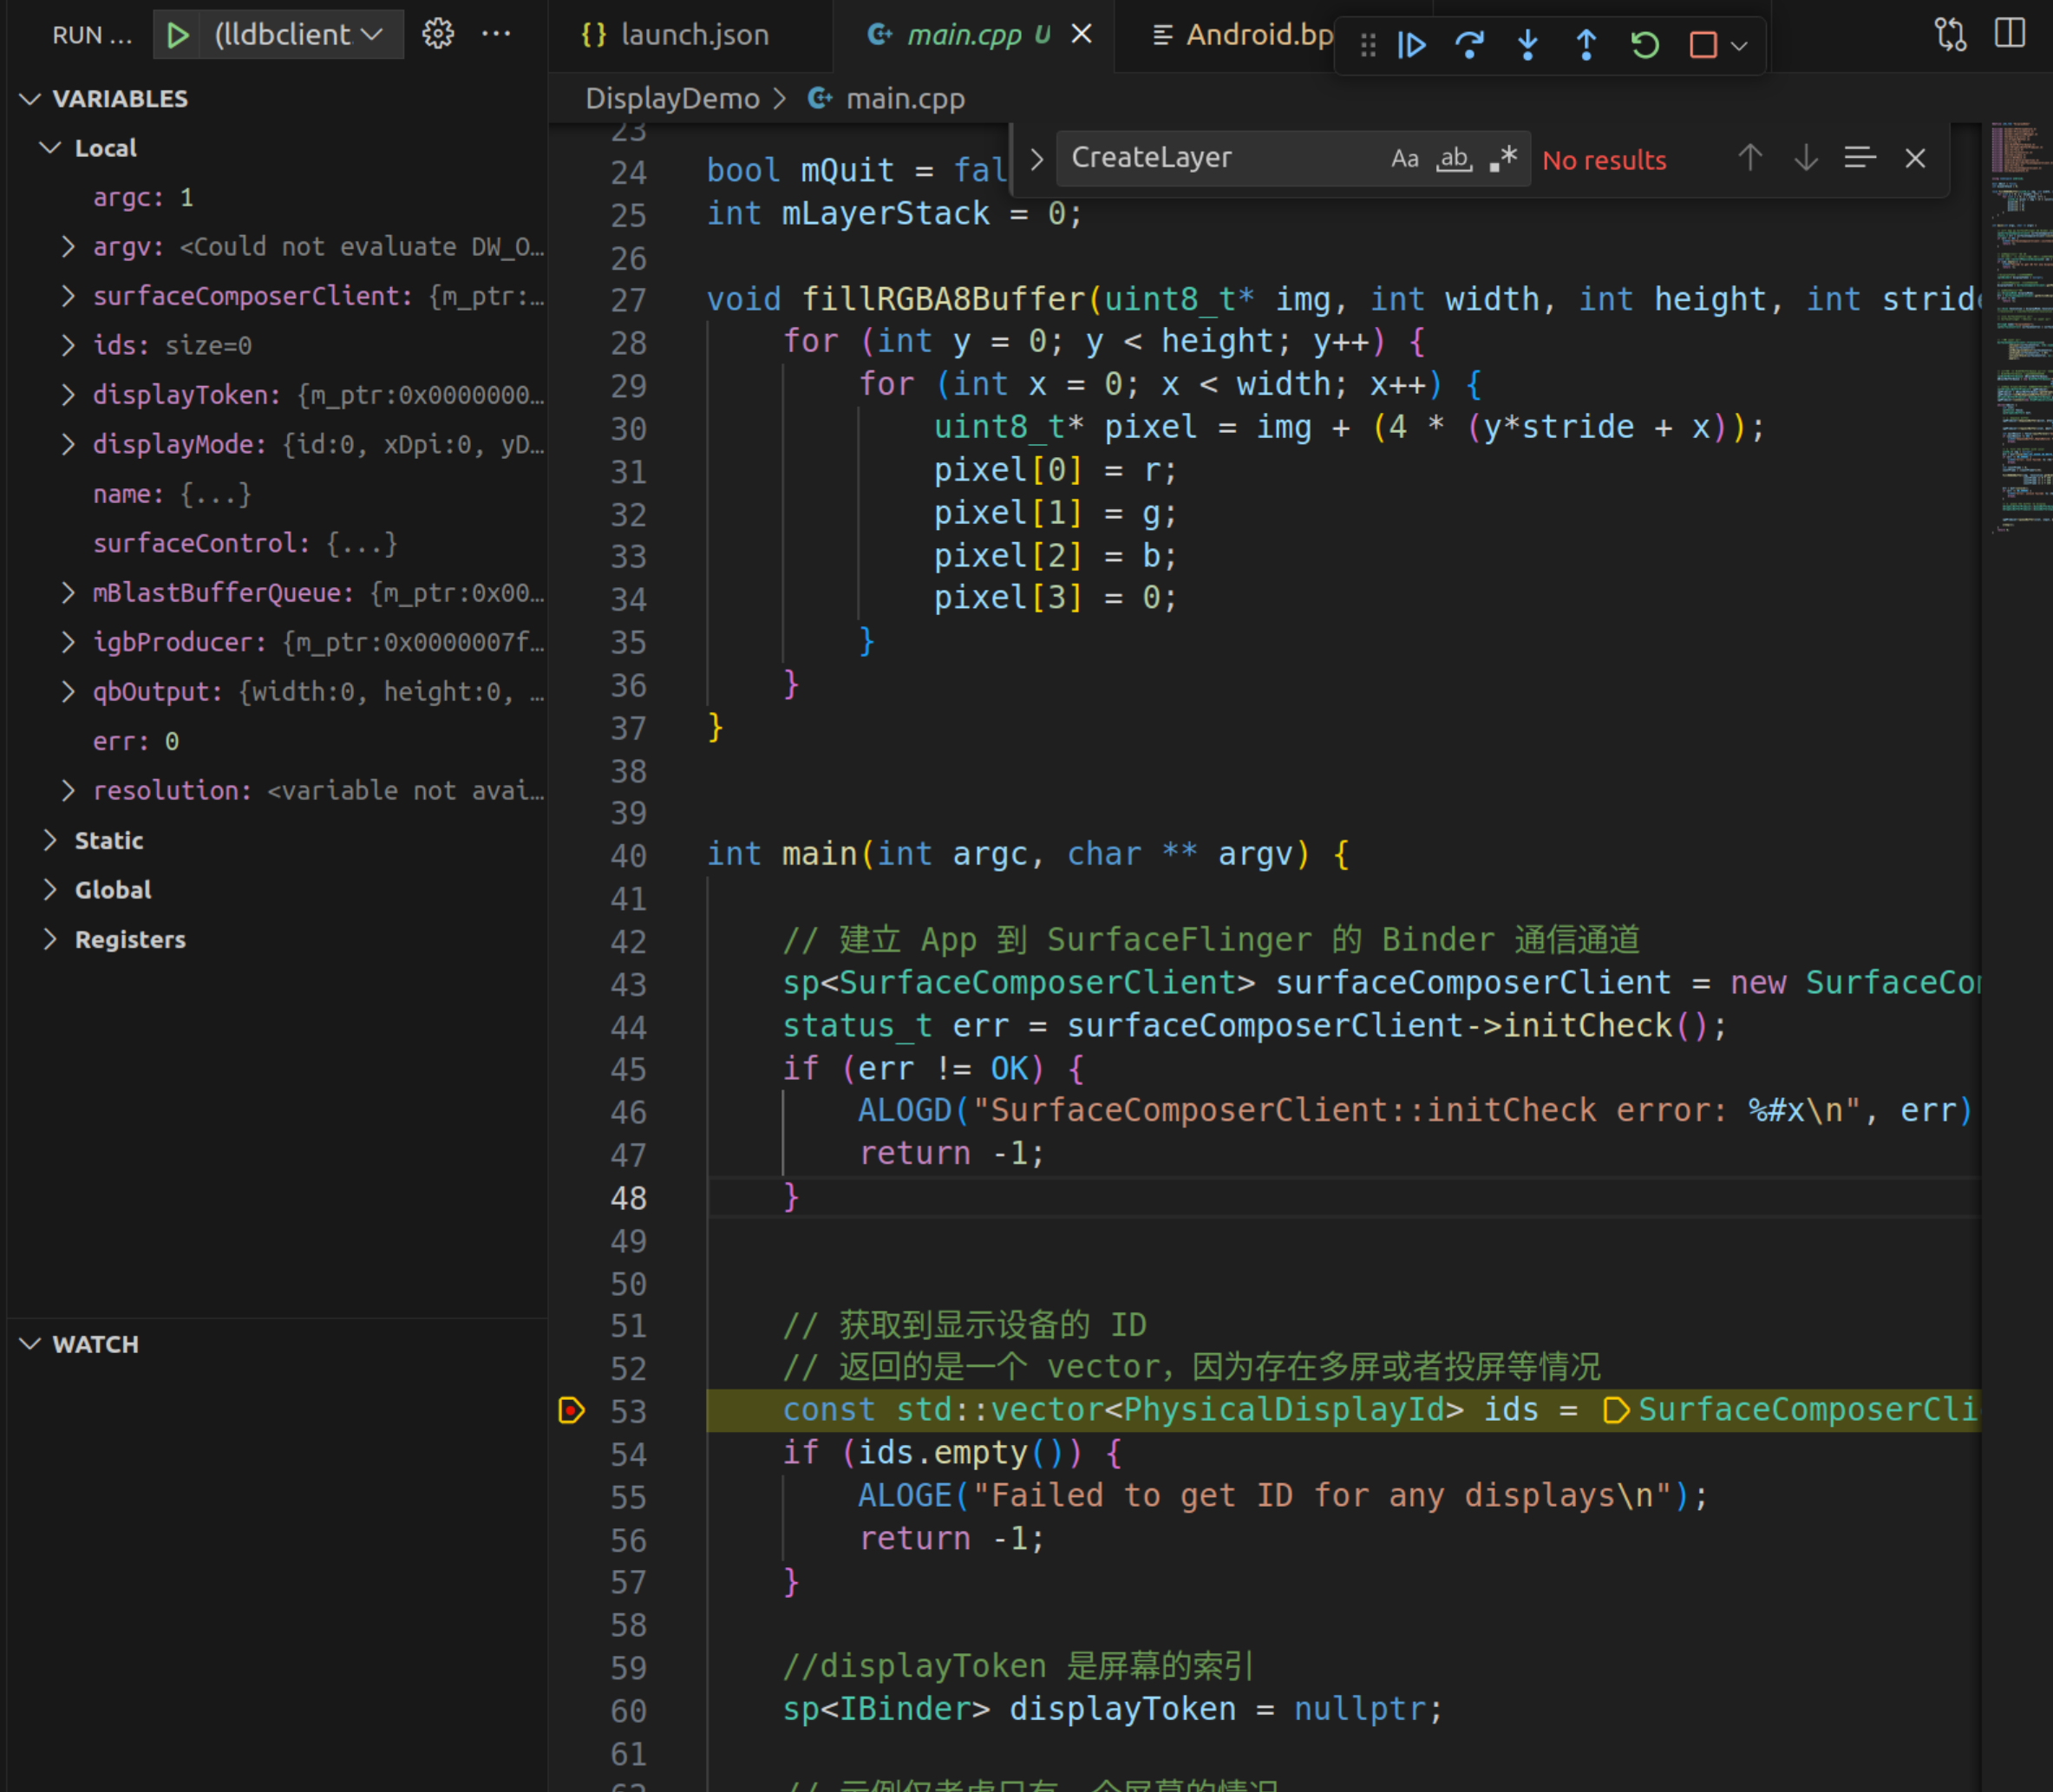
进入到我们的源码中了。
# 总结
就调试而言,图形化界面确实比命令行好用。
# 参考资料
- [Use debuggers](https://source.android.com/docs/core/tests/debug/gdb3
- 01
- 004.Vulkan绘制一个三角形3——初始化过程分析202-03
- 02
- 002.Vulkan绘制一个三角形1——概述02-03
- 03
- 003.Vulkan绘制一个三角形2——初始化过程分析102-03